
The Perfectionist’s Journey
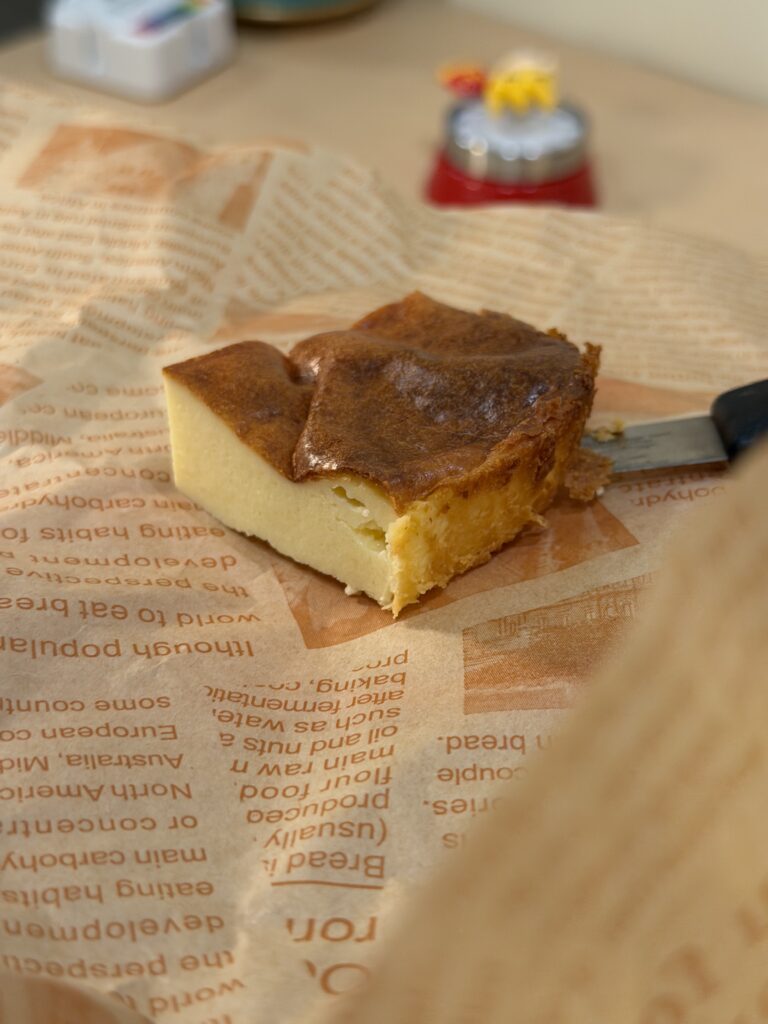
In the world of baking, some recipes are discovered by accident, while others are the result of relentless pursuit. At Whisk and Purr, our latest obsession has been the Basque Burnt Cheesecake Recipe. For the past few days, Flora has been living in the kitchen, fine-tuning the ratios and monitoring the oven like a hawk. It wasn’t about finding a recipe; it was about finding the Basque Burnt Cheesecake Recipe—the one that balances the rustic, scorched exterior with a heart that is almost impossibly creamy.
The Rhythm of the Batter
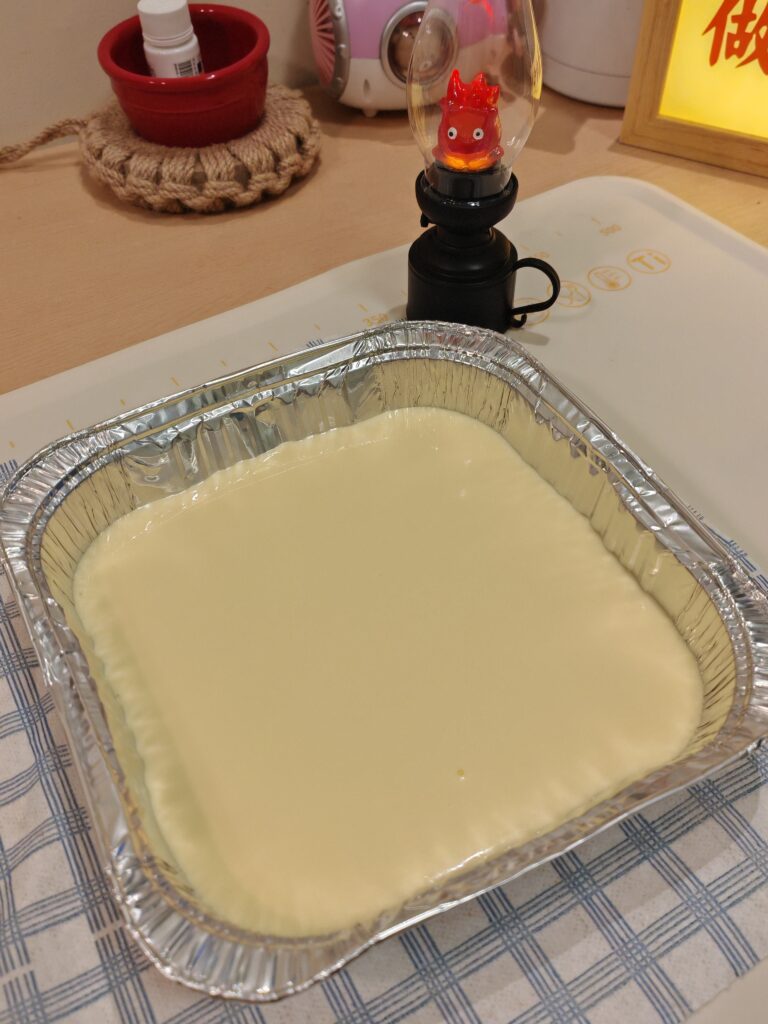
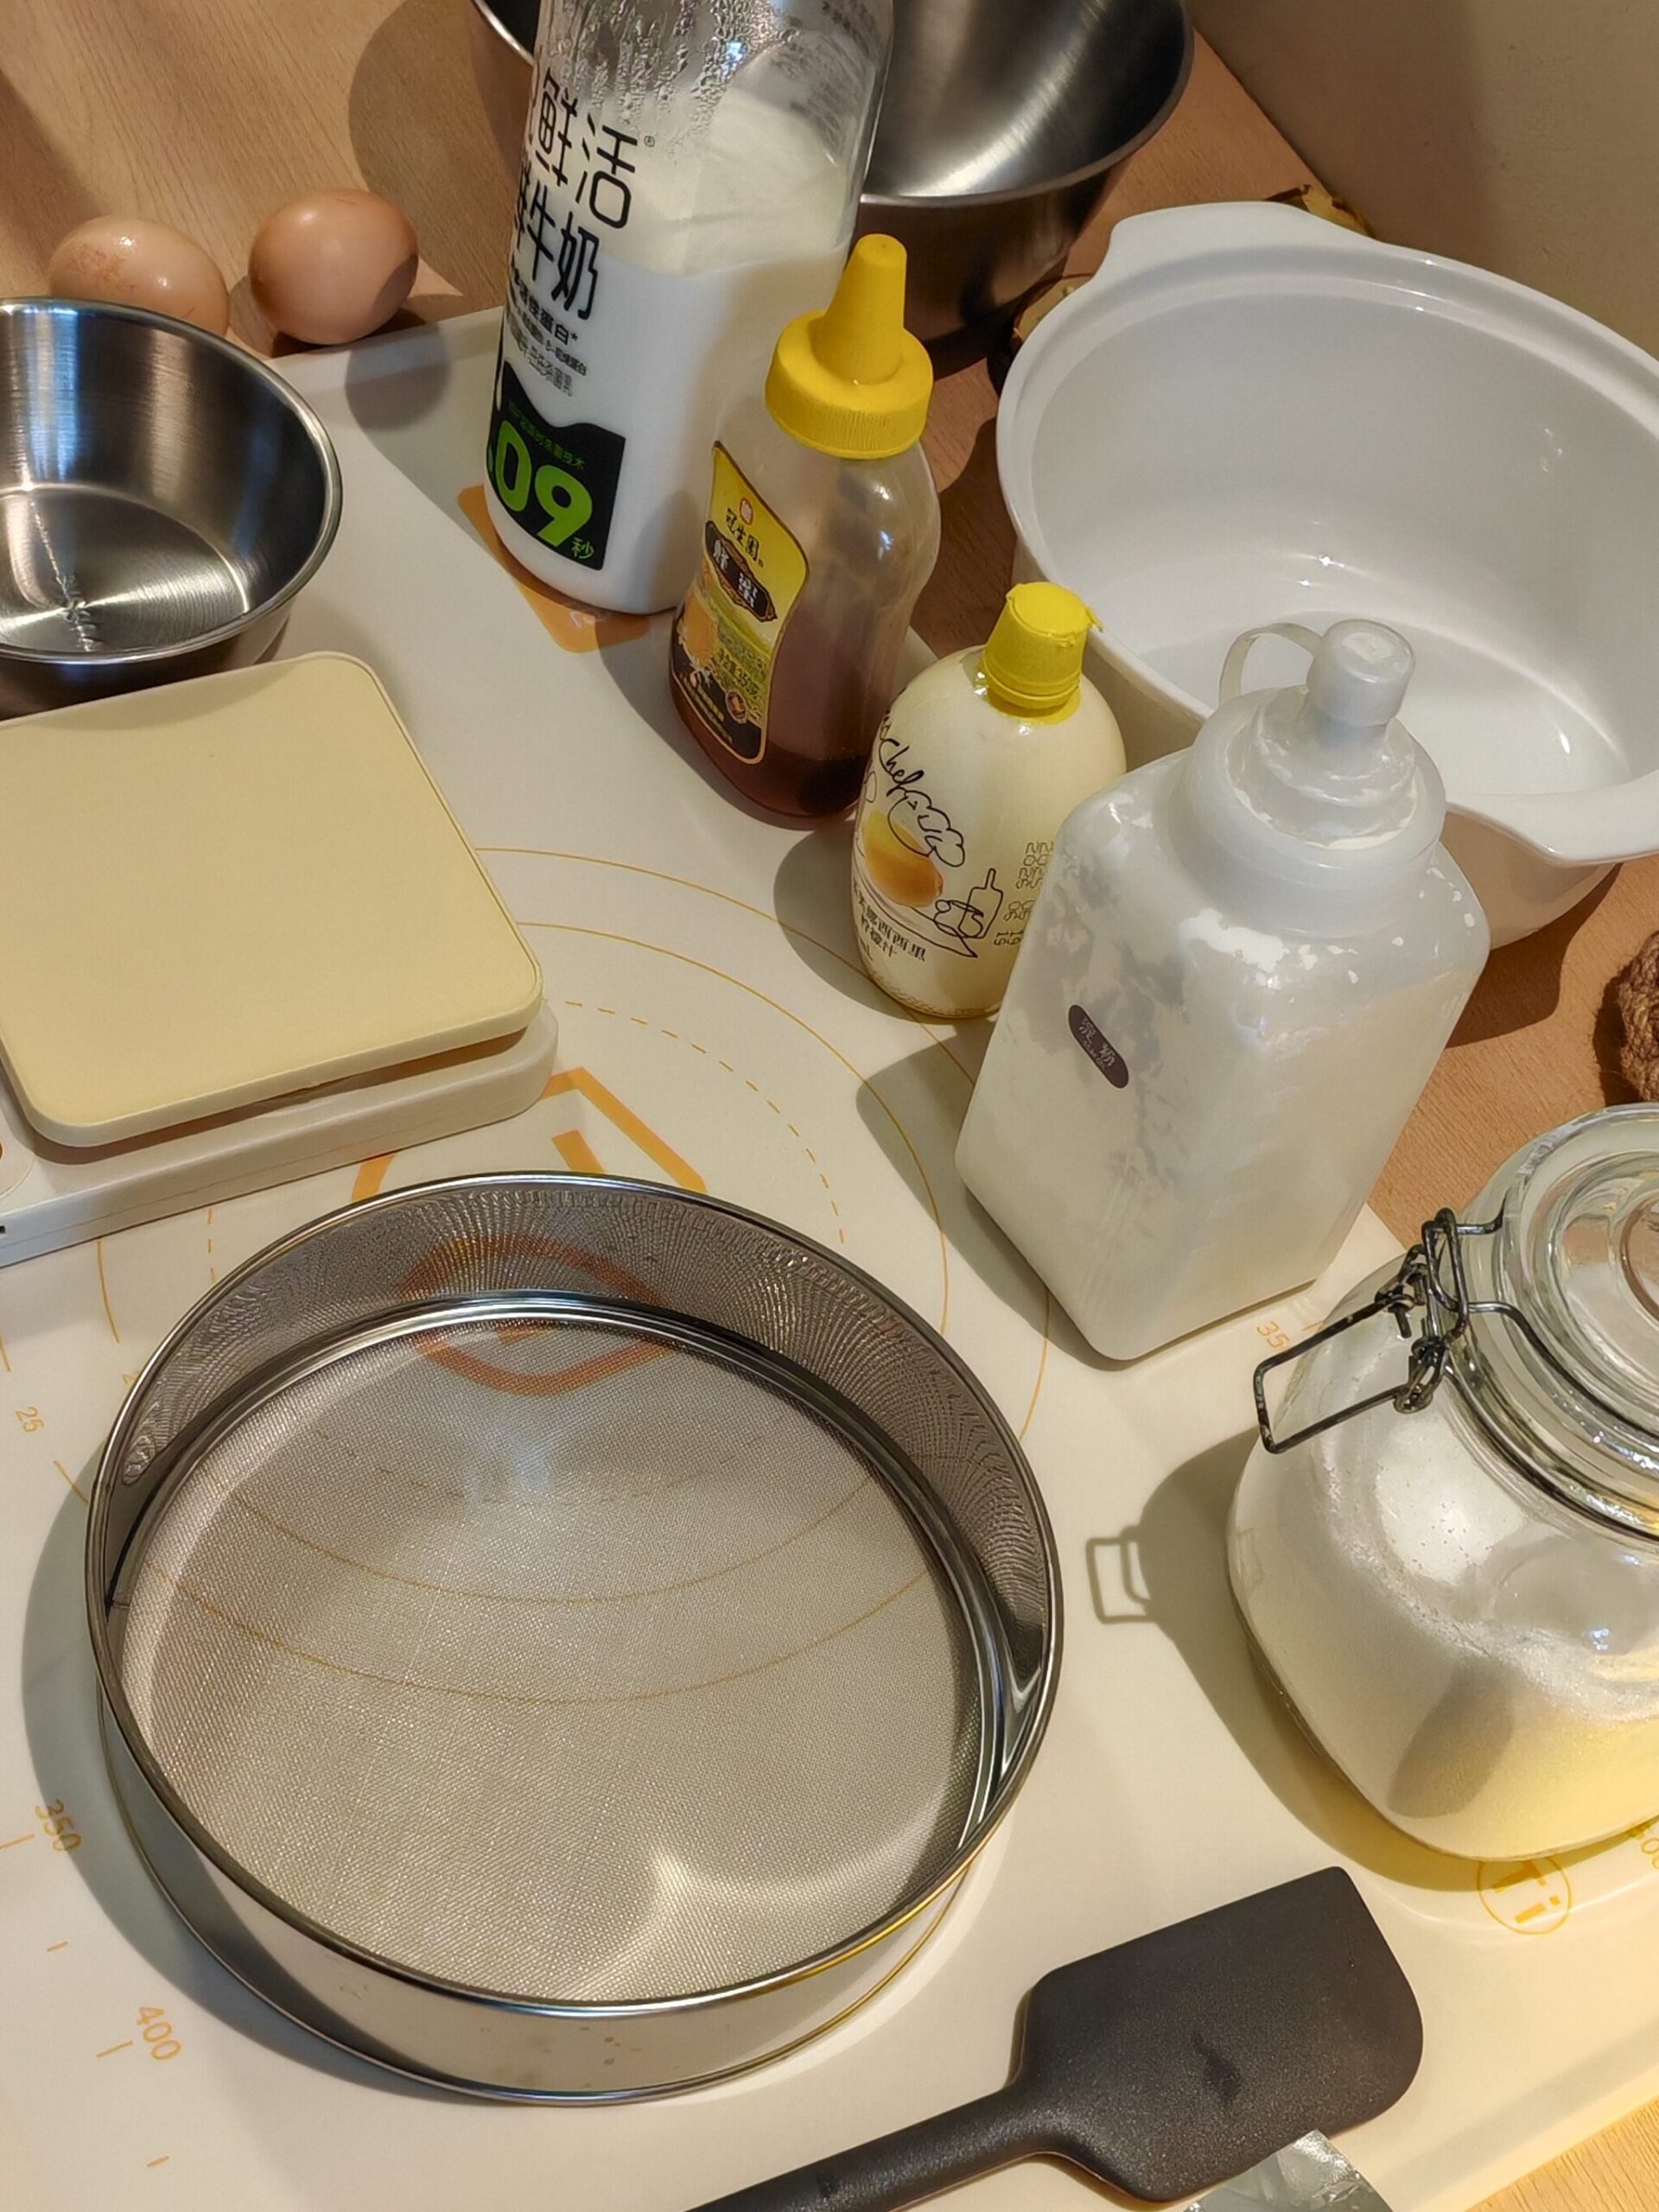
To achieve that signature lava-like texture, it’s all about the emulsification process. Instead of rushing, Flora let the cream cheese soften naturally, giving it a gentle stir every 15 minutes. We added the eggs one by one, whisking slowly in a consistent rhythm. It’s a meditative process—waiting for each egg to be fully embraced by the cheese before adding the next. This creates a stable structure that won’t collapse under the high heat of 220°C (430°F).
Toby’s Quality Control
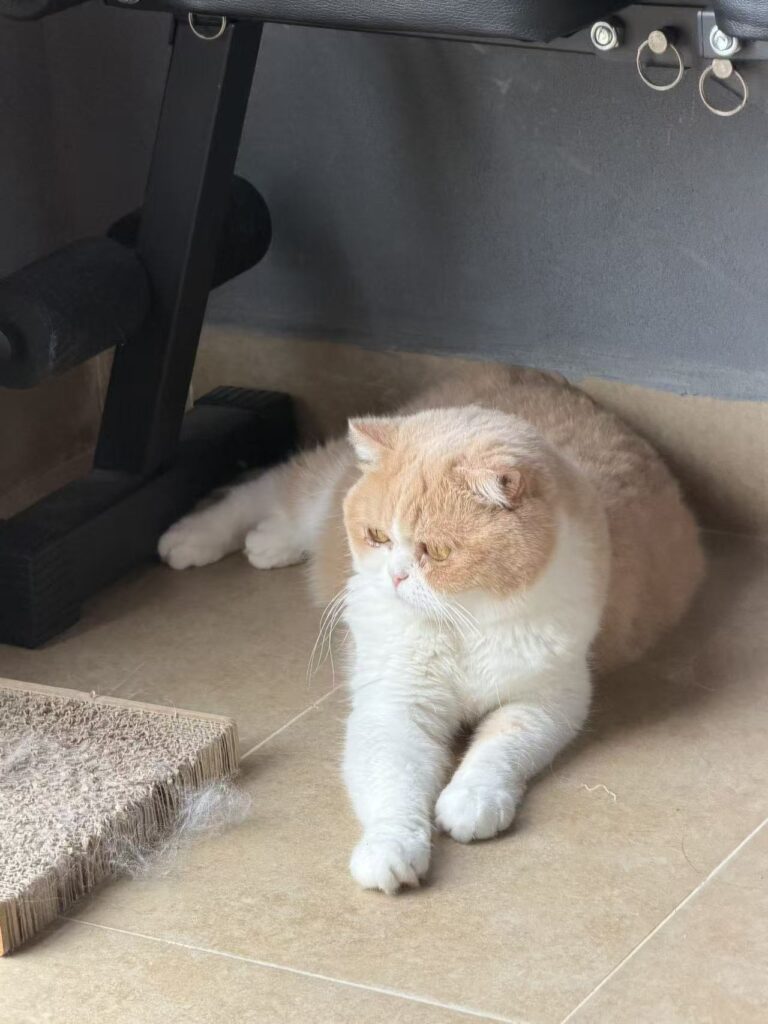
Of course, no baking session at our house is complete without our self-appointed supervisor, Toby. While Flora was busy whisking, Toby was occupied with his own high-stakes job: kitchen surveillance. Every time Flora turned to reach for the sugar, Toby was there, inspecting the whisk with intense curiosity. When the oven finally started emitting that deep, caramel aroma, Toby sat stoically by the kitchen door, his ears twitching at every crackle from the oven. He might not be allowed to taste the cheese, but he certainly made sure the “human staff” remained focused on the task!

Flora’s Pro Tips for Success
To achieve this level of perfection at home, Flora shares three non-negotiable rules for Basque Burnt Cheesecake Recipe:
- The Final Tap: Before baking, tap the tin firmly on the counter three times. This “burps” the batter, removing large air bubbles for a silky texture.
- The Jiggle Test: Don’t overbake! The center should still jiggle when you pull it out. It will firm up as it cools, maintaining that custard-like texture.
- The Overnight Rest: This is the hardest part. You must chill the cake for at least 8-12 hours. This develops the flavor profile and ensures the perfect slice.
A Slice of Slow Living
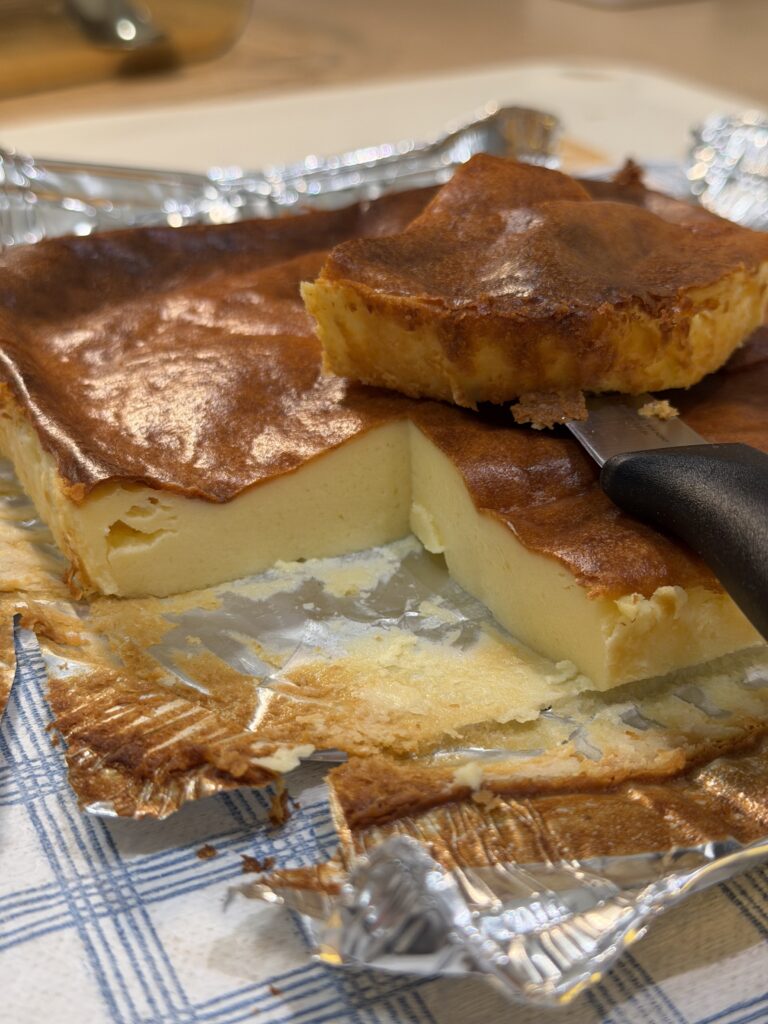
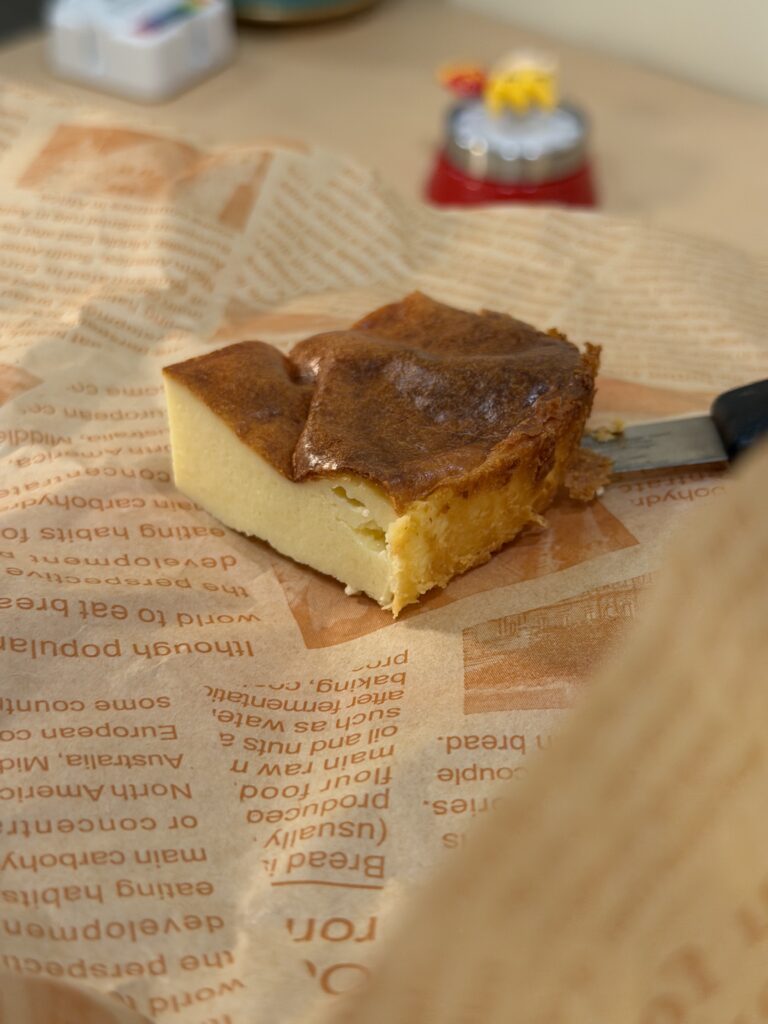
Finally cutting into the cake was a moment of pure magic. The contrast between the dark, bittersweet top and the pale, melting interior is exactly why we love baking. As we enjoyed a slice in the afternoon sun, Toby finally curled up for a nap, satisfied with his day’s work. It’s a reminder that beauty often hides in the “imperfect” and the patient wait.
Looking for the perfect brunch to precede this dessert? Check out our Sizzling Shakshuka Recipe — the spicy, savory kick you need before diving into a slice of cheesecake! Does your fluffy ‘assistant’ help you in the kitchen too? Or are they just there for the cream cheese quality control? Let us know your funniest kitchen-pet stories in the comments below!